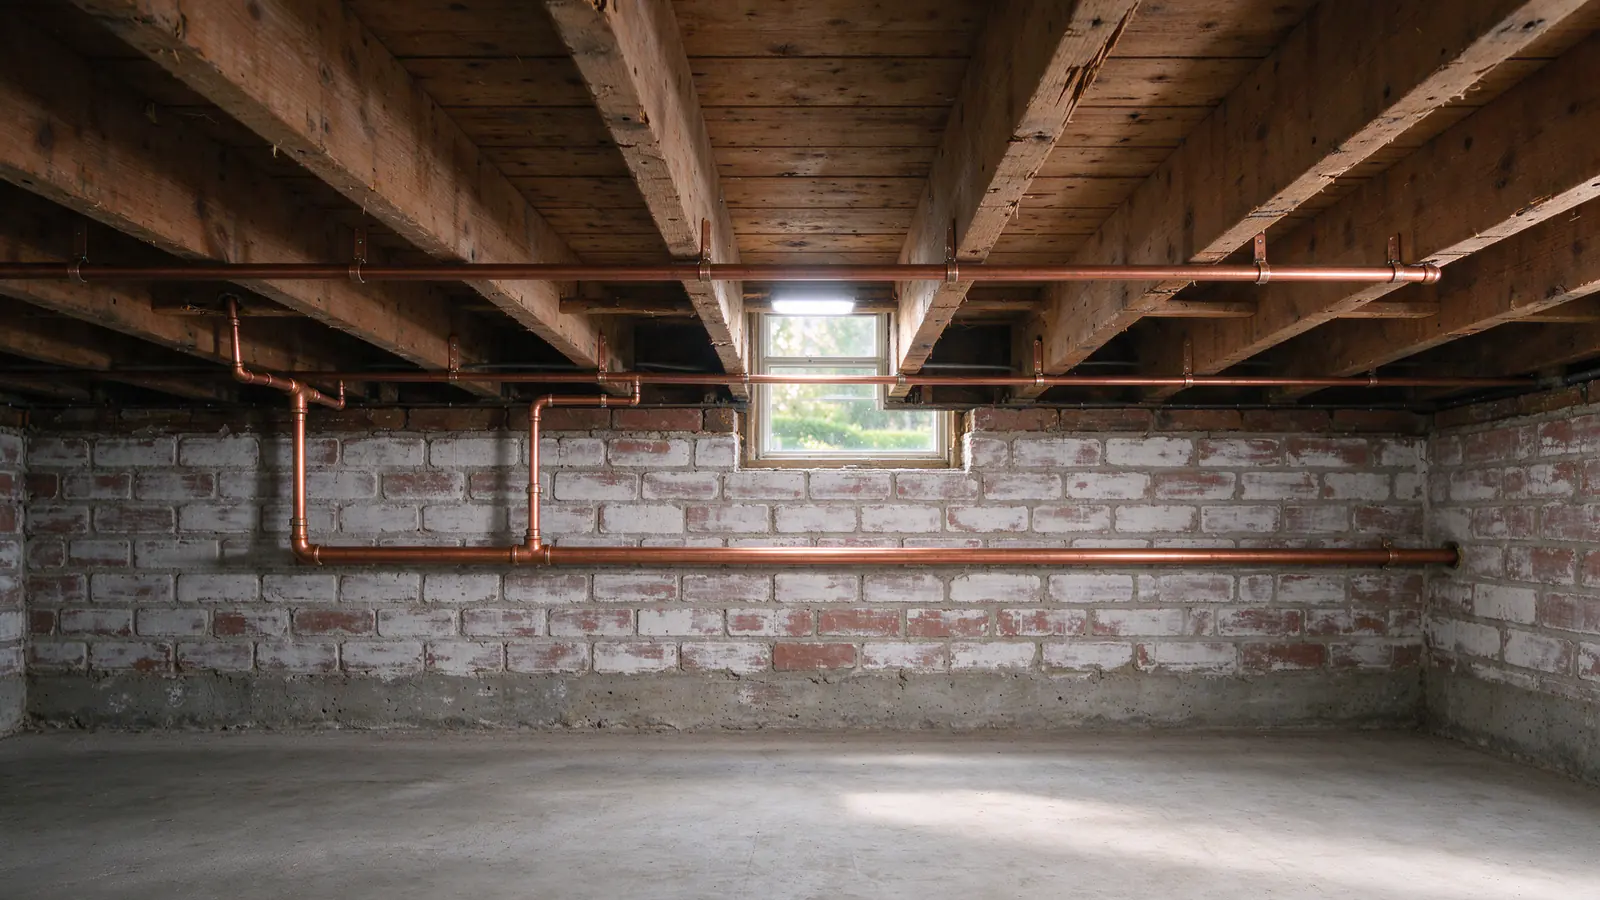
This is an illustrative walkthrough, not the record of a specific job. It follows how a whole-house repipe of a Chicago brick bungalow with galvanized supply pipe would run, using the steps the work actually follows: a first visit that starts at the meter, a written quote, a City permit, planned openings, cutovers, a pressure test, flushing and labeled shutoffs.
Chicago Lake Repiping offers and manages whole-house repiping across Chicago and nearby Cook County suburbs, with the work done by licensed and insured plumbing contractors. The house below is an example built to show the sequence; the house, the symptoms and the choices do not describe a real customer, address or completed project. Every building differs, and the details of a real job come from its own walk-through.
The house and the problem
The example house is a brick bungalow on a full basement: kitchen and one bathroom on the main floor, a half bath added later in the finished attic, laundry in the basement. The supply pipe is original galvanized steel, with one length of copper where a past leak was repaired.
The owners notice two things. The attic sink barely runs when someone uses the kitchen tap, and the first draw from the bathroom faucet after a weekend away comes out brown, then clears. Neither symptom proves the cause on its own, which is why the first visit measures before it concludes.
The first visit starts at the meter
The visit starts where the water enters: the meter and the main shutoff in the basement. The service line material is noted where it comes through the wall, because a lead or galvanized service line can be the real pressure bottleneck and is a separate project. In this example it is lead, which the owners plan to deal with through lead service line replacement, coordinated with the interior work so the main shutoff is not moved twice.
Static pressure is read at a hose bibb with nothing running. Flow is then compared at the lowest and highest fixtures, the basement laundry and the attic half bath, with two taps open. In the example, static pressure is fine and the attic flow is poor: a sign that the interior pipe has narrowed, as the low water pressure guide explains. The walk-through traces the main to the water heater and up the riser, notes the copper repair, and looks for routes: open basement joists, a closet on the main floor directly under the attic bath, the wall behind the kitchen cabinets.
The quote
The written quote describes the job before anyone cuts a wall. In the example it lists:
- the material, copper, and the tube type for each part of the system;
- every fixture connection, the water heater and the hose bibbs;
- the main shutoff, which closes fully when tested and stays as the starting point for the new piping;
- each wall opening, room by room, and who closes it and to what finish;
- where old pipe stays: the galvanized riser inside the bathroom wall is cut, capped and left in place rather than pulled out through more plaster;
- the working days and the water-off windows;
- the permit.
The price for a house like this would fall within the typical Chicago-area range for a single-family whole-house repipe, $5,000 to $15,000+, and the Express permit adds $150. The Chicago repipe cost guide explains what moves a quote within that range.
The permit
Because the job replaces existing piping without changing the layout, it goes through the Department of Buildings’ Express Permit Program as Plumbing Work. The Chicago-licensed plumbing contractor files it and accepts the job electronically before the permit issues, and the permit names that contractor. The Chicago repiping permit guide covers what the application asks for.
Running the new pipe
The new main and trunk lines go along the open basement joists without opening anything. The riser goes up through the main-floor closet that sits under the attic bath. Where pipe has to turn out of a hidden route toward a fixture, the plaster is opened in a clean rectangle at that fitting or turn, not along the whole run.
The bathroom’s tub valve sits behind tile. Here, the tile wall is reached from the back where possible, through the hallway closet on the other side, so the tile stays. The plaster walls guide explains how openings are planned and why copper needs one at each fitting.
All of this happens while the old galvanized system keeps feeding the house.
Wondering how this would go in your house?
A walk-through from the meter shows the routes, the openings and the water-off windows for your building.
Cutovers
The water goes off only during the cutovers, when a section is switched from old pipe to new. In the example, the first cutover brings the new main and the basement laundry onto copper; the next moves the main floor; the last brings in the riser and the attic half bath. Each window was on the quote, so the owners planned laundry and dishes around them. The guide to living through a repipe covers how to plan a household around those windows.
Pressure test and inspection
Before any opening closes, the new piping is pressure tested. A weak joint shows on the gauge while the wall is still open and the joint can be reached. The City inspection follows, and its result is posted online.
Flushing and labeled shutoffs
After the cutover, the lines are flushed to clear debris from the work. Scale knocked loose from old valves can travel to the first faucet downstream, so the aerators and fixture screens are cleaned. The new shutoffs are labeled: the main, each branch valve and the stops under the fixtures.
Closing up
The openings are closed as the quote described. In the example, the closet and hallway openings get patched and finished, and paint is the owners’ own job, as the quote said. What is left is a house on new copper from the main shutoff to every fixture, a record of where the old riser stays in the wall, and a service line project lined up next.
Every real job adjusts this sequence to the building. If your house has a symptom like the one above, call the number on this page or use the estimate form to set up a walk-through. The galvanized pipes guide covers the background.